
"The use of sound to enhance web-based lecture support materials"
Led by Dr Paul Kenyon, University of Plymouth
|
LTSN
workshops on the preparation of web-based lecture support materials
"The use of sound to enhance web-based lecture support materials" Led by Dr Paul Kenyon, University of Plymouth |
In this section of the workshop you will:
| Action | Screen display |
|
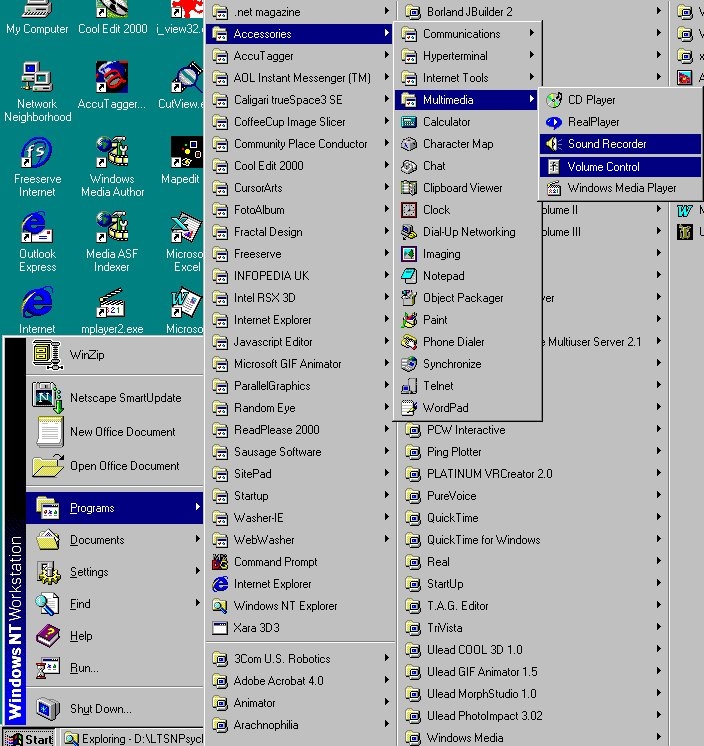
Launch the Sound Recorder application. Click the Windows NT Start button at the bottom left of your screen then select Programs, Accessories, Multimedia, Sound Recorder Launch the Volume Control application Note that your screen display will not look the same as mine (cluttered ...)
|
 |
| Action | Screen display |
|
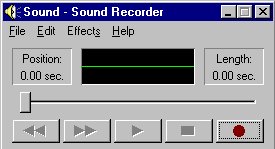
Although the Microsoft Sound Recorder application is limited to recording 60 seconds of sound, we can illustrate the basics of adding streaming audio to a web page with this application. Record "The male Regent Bower Bird is brightly coloured but builds a relatively simple bower with a few leaves which contrast with the forest floor. These are arranged light side uppermost. This can be tested by turning a leaf over so that the darker side is uppermost. The bird returns this leaf to its original orientation. The Tooth-Billed Bower Bird also constructs a simple bower consisting of brightly coloured leaves. Although the male appears drab in this picture he does have an eye-catching display for the female when she has entered the bower. This Western Bower Bird has constructed an avenue of twigs and arranged a collection of white objects in front of it. Archbold's Bower Bird makes a simple clearing in which he displays his collection of exotic plumage, shells and beetle's wing cases." |
 |
| Tip | Screen display |
| Windows Volume Control
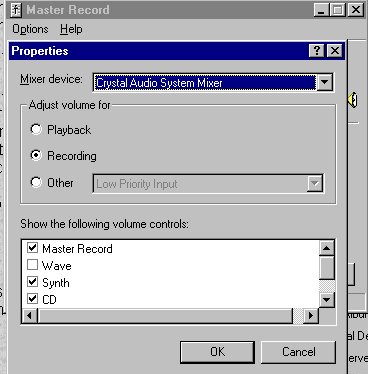
"One of the biggest stumbling blocks to success is the Windows Volume Control, found at Start/Accessories/Multimedia. Windows Volume Control needs to be regularly monitored and adjusted to adapt to volume fluctuations. The Volume Control has two modes,
Record Control is found at Options/Properties/Recording. The Properties window has a "Show the following volume controls" dialogue box that allows you to select the volume controls you need to use. Check this accessory program periodically to ensure that the control you need is selected and that the volume is set appropriately. Leave the program open while you work. If you develop problems with your audio levels, a quick check of the Volume Control will often solve the problem." |
 |
| Action | Screen display |
|
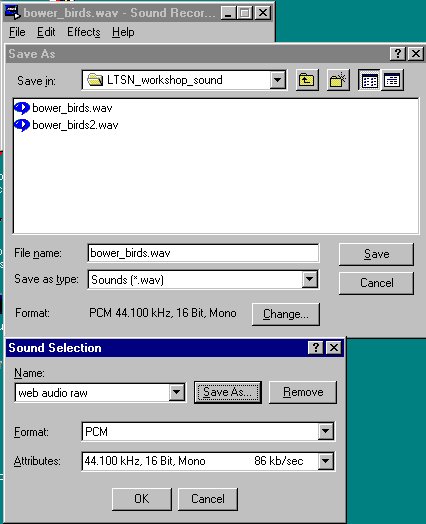
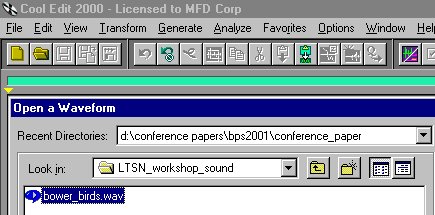
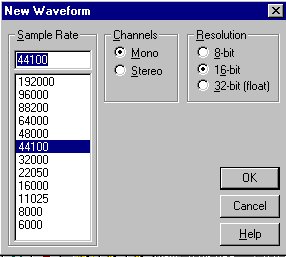
The audio section of the Yale Web Style Guide recommends that audio is digitized at 44.1 kHz with a 16 bit sample rate. This ensures that we begin the process of sound editing, and conversion to a format that can be streamed across the web, with an audio file of the highest quality. You can change the save format of an audio file by selecting the 'Change ..' option in Sound Recorder's 'Save As' dialogue. Save the commentary with the filename bower_birds.wav |
 |
| Tip - Do not worry if you fail to complete part(s) of any Hands-on activity. The resource folder contains final versions of the files used in the workshop. It is a good idea to make a copy of these resources so that you can revert to the saved version if things go 'pear-shaped' as you manipulate an image. |
| Action | Screen display |
|
Move to the computer that has a copy of the CoolEdit software.
|
 |
| Action | Screen display |
|
 |
| Action | Screen display |
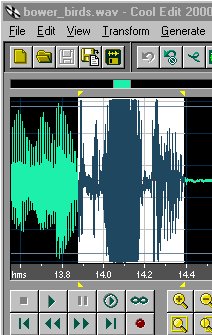
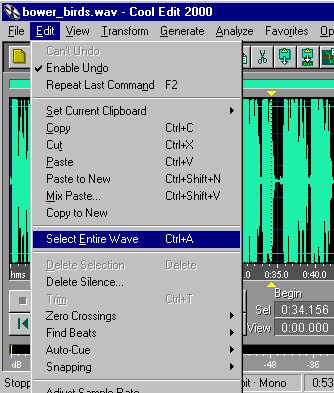
Use these techniques on sections of the audio commentary that you want to remove.
|
 |
|
Tip - You can use SoundEdit to record as well as edit audio files. This can be useful if you 'fluff' a single word or phrase.
|
 |
| Action | Screen display |
|
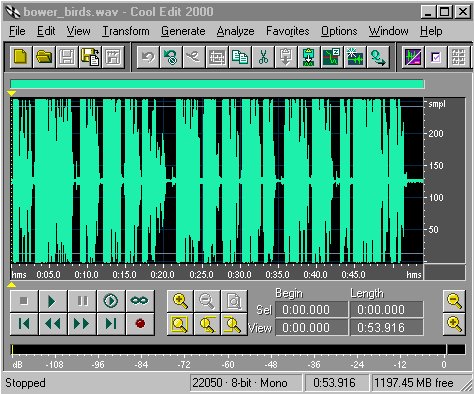
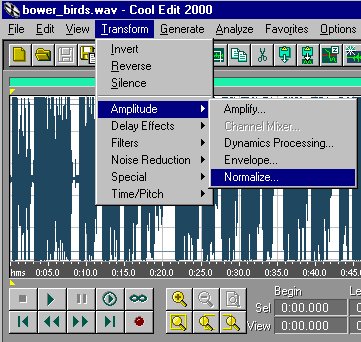
Normalizing the sound wave Normalizing a sound file boosts the entire signal to maximum levels without distorting it. Normalizing finds the loudest peak in the file and then amplifies the entire file to make that peak's volume 100%.
|
 |
| Action | Screen display |
|
|
 |
Copyright Dr Paul Kenyon, University of Plymouth (2001)
Last modified Friday, May 25, 2001
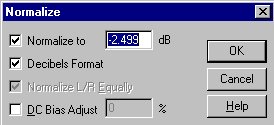 Accept these settings: